
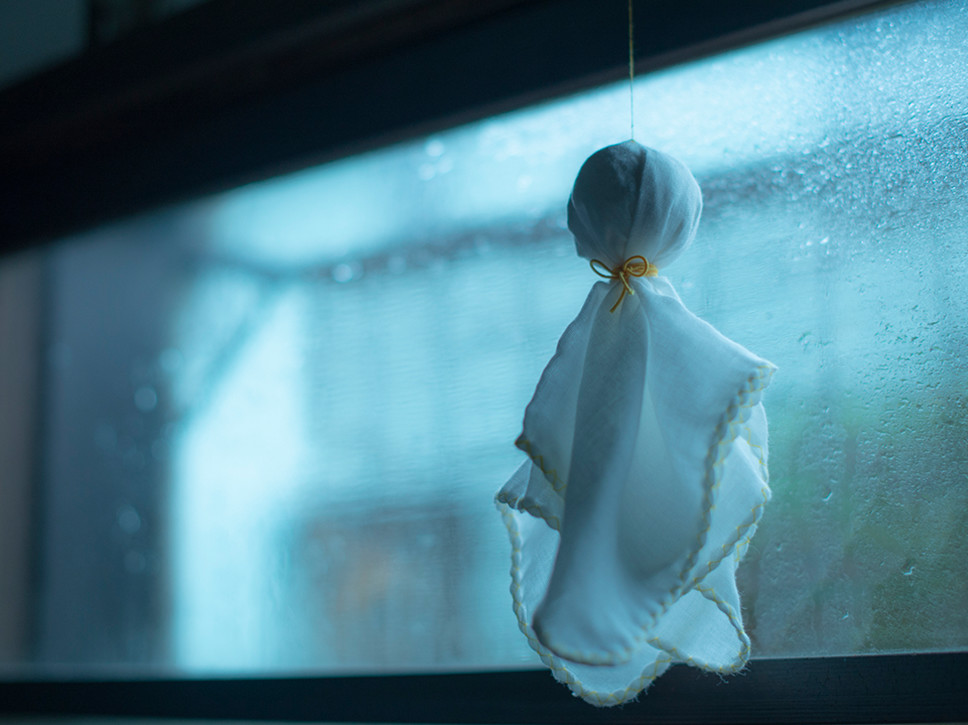
窓について考えていると、いつも思います。
窓って、やっぱり興味深い。
見て、聞いて、読んで、
あなたにも楽しんでほしい。
窓の歴史や文化を。
窓のそばで生まれる暮らしや物語を。
 世界の窓
世界の窓
毎週金曜日 22:54~23:00 BS-TBSにて放送中の「世界の窓」アーカイブコンテンツ。窓から見える歴史や文化を訪ねます。
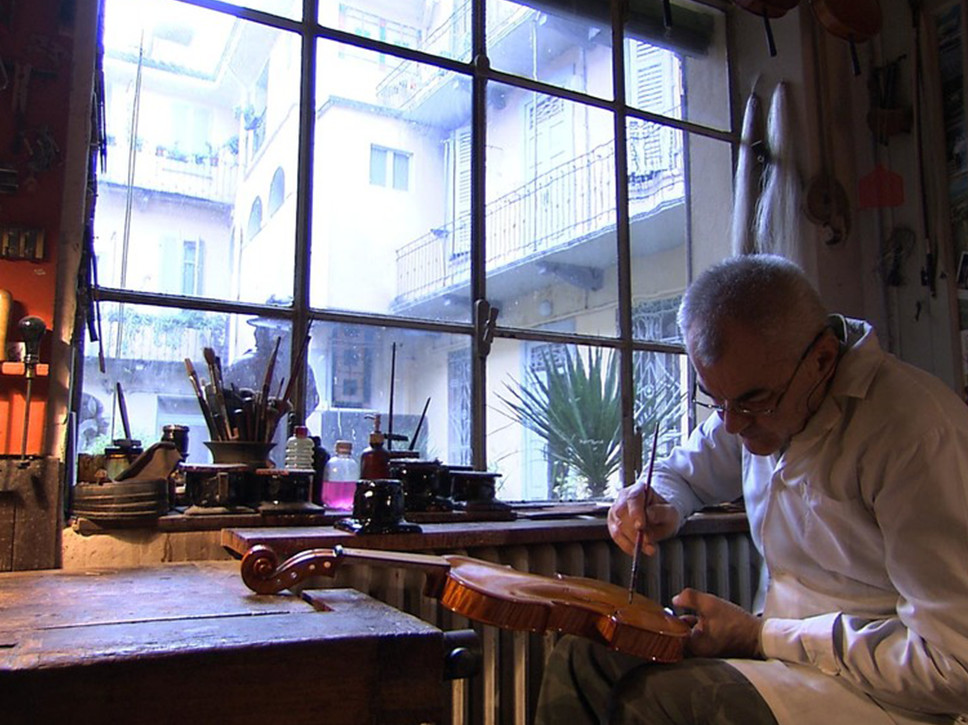
 窓史記
窓史記
古代から現代までの「窓と人々のかかわり」や「窓に対する人々の知恵」をご紹介します。
 YKK APを
見て知る
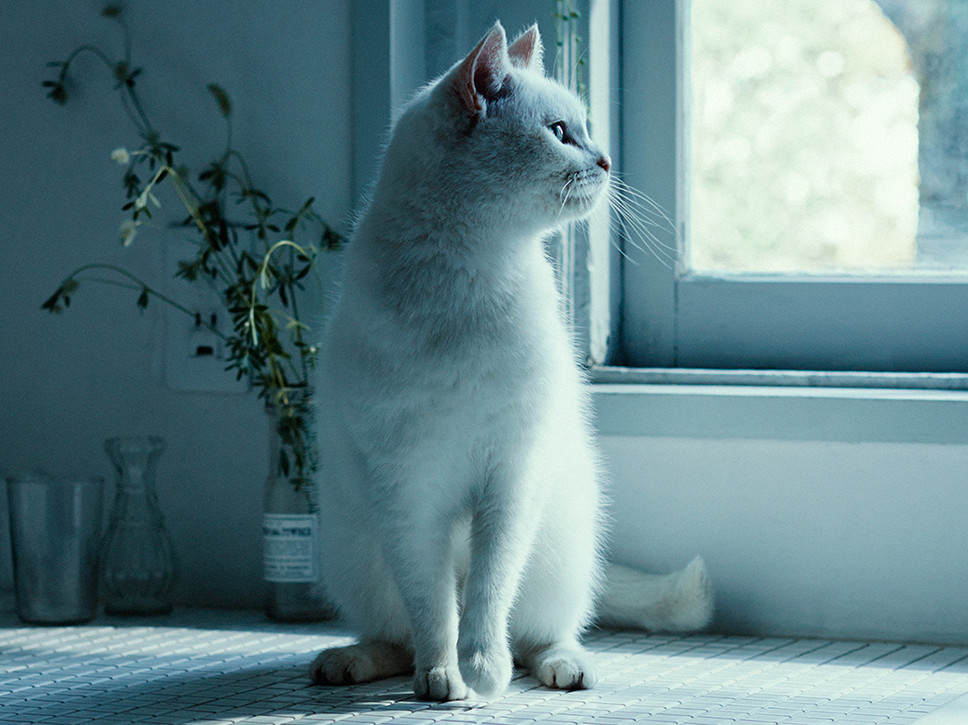
窓がある。物語が生まれる。
窓と人と猫が織りなす物語をご紹介します。

 YKK APを
読んで知る
窓辺に座り、外の世界を眺めていると、自然と言葉が生まれてくる。
窓は、人を詩人にする。
 YKK APを
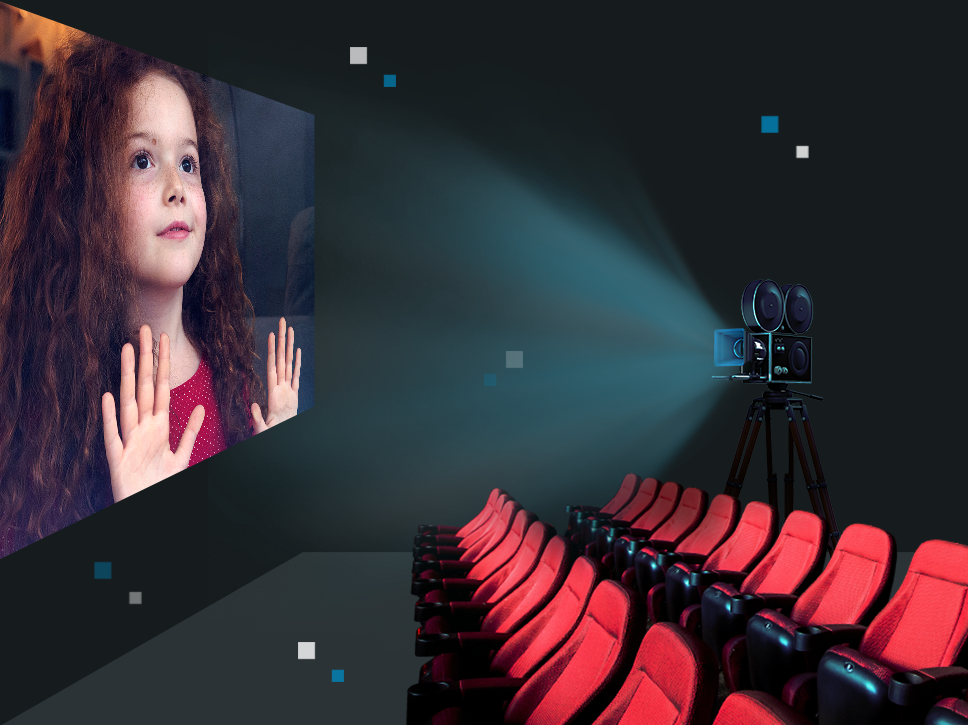
聞いて知る
耳でも、窓は楽しめる。
そっと目をつむって耳を澄ませば、
そこに「窓」のある世界が広がります。
 マド予報・ドア予報
毎日新聞朝刊の天気欄で連載中のひとこと広告です。
あなたのお気に入りはどれですか?(PDF)
 CREATORS
WORKS
次世代を担う若手クリエイターと共に創る「CREATORS WORKS」。窓から生まれるさまざまな物語を通じて、窓の新たな魅力をお届けします。
 皆藤愛子の窓Cafe
~窓辺でCafe time~
人通りの少ない細い道を歩くと、奥まった場所にひっそりとたたずむ大きな窓のある一軒家カフェ。看板娘の皆藤愛子と黒猫のクロエ店長と一緒に、癒しの空間で、爽やかな日曜日の朝を。
 書籍
書籍
「窓」に関して、さまざまな観点から
書かれた書籍をご紹介します。